CheckMate - User Guide
Navitas CheckMate is a robotic application that monitors availability for specific classes or seats.
A simple web based interface and handy GDS uploader tool allows you to easily create, view and edit a wish-list of classes or seats. A robotic then regularly searches for availability and emails you the moment there's news!
Saving you hours of time and stress, this handy tool revolutionises the way you monitor released inventory
CheckMate - GDS Uploader

The CheckMate GDS Uploader tool allows you to automatically send details of any Waitlisted or Closed Classes and specific Seats or Seat Characteristics that you want to find availability for .
CheckMate Uploader - Signing In
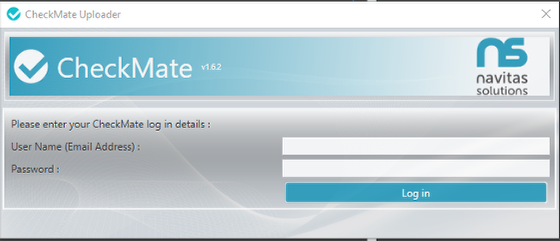
When you first start up the CheckMate Uploader, you will be asked to Sign In – this is the email/password that will have been given to you by Navitas Solutions or your appointed CheckMate administrator. This screen will validate the user and then won't appear again.
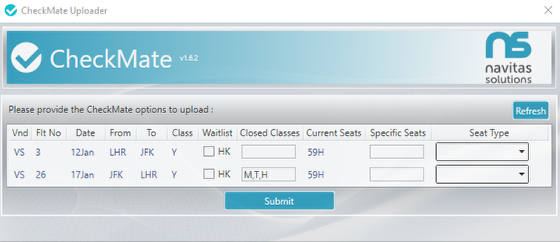
The Uploader screen will list any flights found in the current PNR.
Waitlisted flights will be automatically checked in the Waitlist column, or you can manually check the box to force the system to upload the already booked class.
You can also provide any closed classes that you might be looking for - with any of these boxes if you are looking for more than one, you can comma separate them as follows and shown; M,T,H
The same goes for specific seats that you might be looking for. In the Specific Seats box you can type a seat number, or multiple seat numbers (again using a comma to separate).
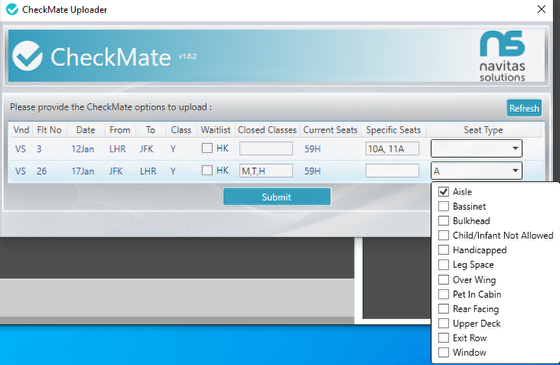
If you are looking for a particular seat type then these characteristics can be selected from the drop down list instead.

Hitting 'Submit' will upload the various options to the CheckMate robotic system. The uploader will remain on screen as you can move to a different booking file, hit the 'Refresh' button to upload several PNR's in succession.
www.navitascheckmate.co.uk
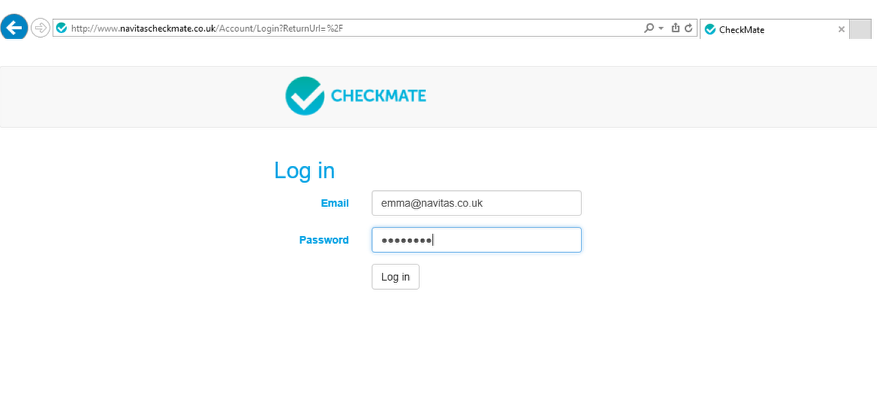
A website - www.navitascheckmate.co.uk - is available to allow users to check, edit or delete class/seat checks that have been uploaded. You can also manually add in any checks (without using the Uploader tool).
Log in using the email address and password that has been given to you by Navitas Solutions or your appointed CheckMate Administrator.
This system allows standard users to view, enter, update and delete checks that the robot should perform. Standard users will only see the class checks that they have entered in to the system.
A user marked as an Administrator can log on and manage all checks loaded by any user in their PCC along with several other admin functions.
navitascheckmate.co.uk - Class Checks

The Class Checks tab displays a list of Class Checks. The list of Class Checks can be sorted by any of the column headers simply by clicking on the header. For example, if you wanted to group Class Checks in date order then simply click on the Date column header. A useful Filter box is also available so you can filter the results by any field, simply by typing in this box i.e. show BA flights only, type BA in this box.
You can Edit (1), or Delete (2) a class check simply by clicking on the relevant icon.
By clicking the New (3) link you can manually add in a Class Check
Add Class Check
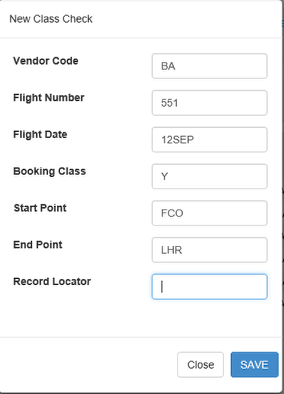
To manually add a Class Check you will need to complete the Vendor Code, Flight Number, Flight Date, Booking Class and Start and End Point. The Record Locator is optional.
Click Save to add the Class Check to your database.
navitascheckmate.co.uk - Seat Checks
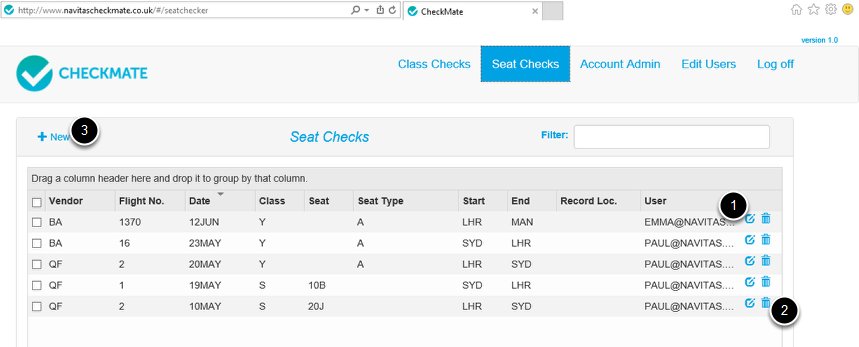
The Seat Checks tab displays a list of Seat Checks. Again, the list of Seat Checks can be sorted by any of the column headers simply by clicking on the header. For example, if you wanted to group Seat Checks in airline order then simply click on the Vendor column header. A useful Filter box is also available so you can filter the results by any field, simply by typing in this box i.e. show user emma@navitas.co.uk only, type emma in this box.
You can Edit (1), or Delete (2) a class check simply by clicking on the relevant icon.
By clicking the New (3) link you can manually add in a Seat Check
Add Seat Check
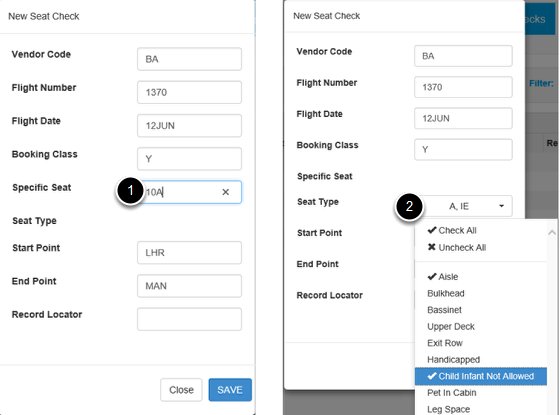
To manually add a Seat Check you will need to complete the Vendor Code, Flight Number, Flight Date, Booking Class and Start and End Point. The Record Locator is optional.
You can then enter either a Specific Seat (1) i.e. 10A or a Seat Type (2) i.e. Aisle and Child Infant Not Allowed
Click Save to add the Seat Check to your database.
navitascheckmate.co.uk - Account Admin
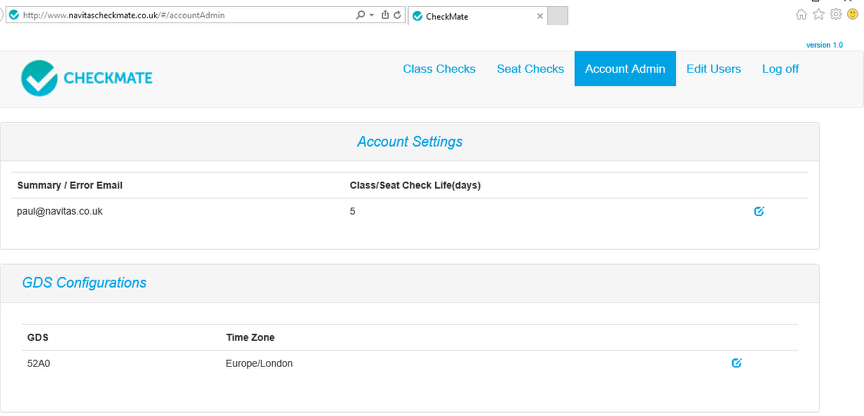
A user marked as an Administrator can view the Account Admin tab.
From here you can set up details as follows:
*Summary/Error Email Address
This is the email address to which any errors in the Robot application will be sent to as well as the summary emails each time the robot runs.
*Class Check Life (days)
This is the number of days that a Class Check will remain on the system once the departure date has been passed.
*GDS
This is the list of PCCs that will be checked.
*Time Zone
Local time zone, important so we know when to check!
navitascheckmate.co.uk - Edit Users

The Edit Users tab can be used by individual users to reset or change their passwords or amend their email address.
If you are an administrator then you can add new users, and edit or delete current ones. You can also reset passwords.
Create New User - Administrator only
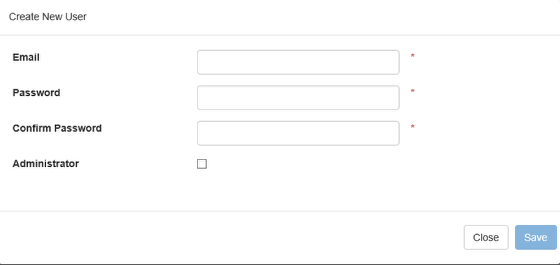
Administrators can create a New User. Click the [+Add] button and complete the details; enter their email address and select a password. You can make the user an Administrator by clicking the relevant tick box.
navitascheckmate.co.uk - Log Off
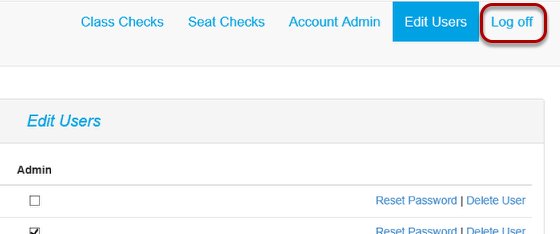
Click the Log off button to close the connection to your database.
Availability Checks
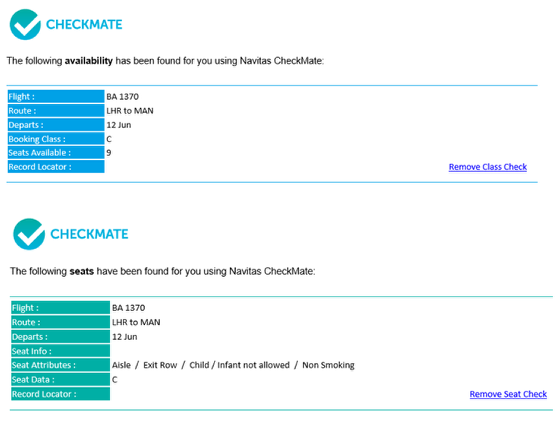
A robotic application, hosted by Navitas Solutions, runs every 15 minutes. Availability is checked for any Class/Seats held in your database.
A separate email, detailing any Class or Seat Checks found is be sent to the individual user. They receive a blue Email for Class Checks and a green Email for Seat Checks. A useful Remove Class/Seat Check link can be used to delete the check from your database without having to log into the website and use the interface.
A summary email is also sent to the Administrator email address showing all alerts sent to every user.