Tables NEW
Tables can now be used in 3 ways!
Firstly they make it quicker and easier to build rules. They allow you to validate several values at once - a great example is if you want to write a rule for your VIP customers. You can create a table for VIPCUSTOMERS containing a list of Account Codes then link to that table when creating the rule (If DI.AC is in table VIPCUSTOMERS) instead of having to use a long winded Or statement (If DI.AC=1234 or DI.AC=5678 or DI.AC=9900 or etc).
Secondly a table can be created with a list of values, which you can then prompt the user to select from.
Thirdly! The system now allows rules administrators to utilise entries in a Table as part of the Entry Trigger. For example, you may have a list of VIP BAR names, so you can now create a Table with all those BAR names and then create an Entry Trigger where if anyone makes a CMT entry with one of the BAR names from the list - an action is performed.
Maintain Tables
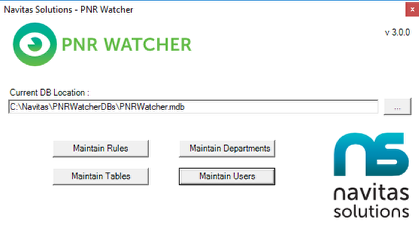
If not already running, start the PNR Watcher Administration program.
The above screen appears. Select Maintain Tables.
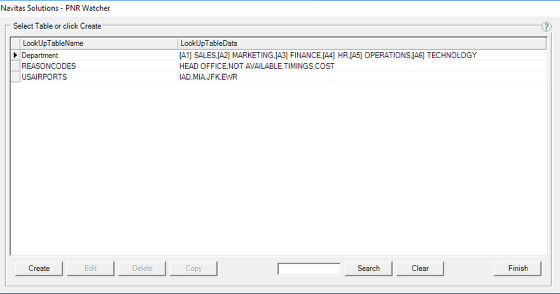
The screen displays a list of current tables.
Follow the relevant sub section below to create, edit or delete tables.
Create New Table
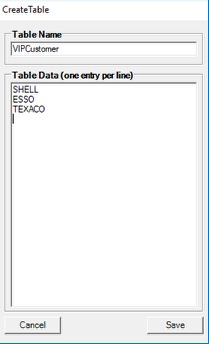
Click Create on the PNR Watcher Maintain Tables screen. The above box appears.
Enter the Table Name (with no spaces) i.e. VIPCustomer.
Then enter all of the values, in the Table Data box, one entry per line.
For example I want to create a table for my VIP customers that will fire from the BAR (Profile) name. In my Table Data box I will list all of the BARs (profiles) that are VIP Customers.
Useful hint - you can copy and paste information in to this box from Excel or similar.
Create New Table using [Value]Text
On some occasions you might want to have Text that is displayed to the consultant, but a different value entered in to the booking file.
For example, a list of Department Codes. The consultant will choose from Sales, Marketing, Finance, Technology but an actual code is formatted in to the DI.FT entry A1, A2, A3
As before click Create on the PNR Watcher Maintain Tables screen. The above box appears.
Enter the Table Name (with no spaces) i.e. Department.
Then enter all of the values in the Table Data box, one entry per line. Use [ ] to show the value to be entered in the booking, followed by the Text to display to consultant to select from.
If you use this table as part of the Rule Condition then we will check the booking file field against the value in the [ ] i.e. A1, A2, A3.
Edit Table
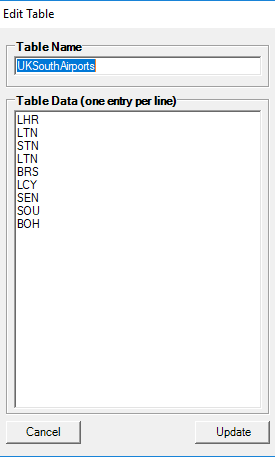
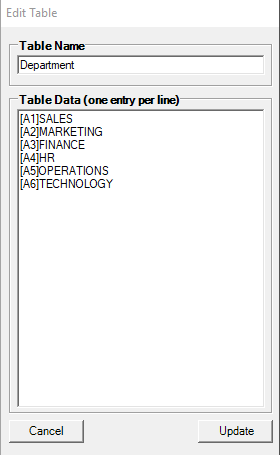
To edit a table, double click the table name from the PNR Watcher Maintain Tables screen, or select it and click Edit.
The above screen displays.
Change the Table Name or Data, then select Update.
The Maintain Tables screen reappears. Repeat the above steps for any other tables that need editing. Once complete select Finish to return to the main PNR Watcher Admin screen, or remain in the Maintain Tables section to Create or Delete further tables.
Delete Table

To delete a Table, select the table name from the Maintain Tables screen and click Delete.
The above confirmation screen appears. To confirm the deletion select Yes and the table will be deleted.